

The squat is unquestionably one of the most effective exercises you can do in the gym. Research shows the squat activates over 200 muscles in a single movement and develops strength, muscle mass, and functional performance more effectively than any other single exercise (Kubo et al., 2019).
This comprehensive guide covers everything you need to know about the perfect squat — technique, programming, common mistakes, and how to take your squat to the next level.
My Journey with the Squat
The squat is a movement I've been practicing for over ten years — and one I'm still learning. In my early years I did everything wrong: stance too narrow, heels rising, back rounding. My knees and lower back quickly told me this couldn't continue.
The turning point came when I started genuinely studying technique — filming my lifts, reading research, correcting mistakes one by one. Depth improved, weights went up, and the pain disappeared.
"The squat is a movement you never fully master — but every session makes it better. Refining technique never ends, and that's exactly what makes squatting so rewarding." – Pietari Risku, Founder of Tsemppi
This guide distills everything I've learned — backed by science.
Table of Contents
- Why is the squat so important?
- Squat fundamentals and mobility
- Perfect technique step by step
- Most common mistakes and how to fix them
- Breathing technique: The Valsalva maneuver
- Training programs by level
- Squat variations
- Tips for advanced lifters
- Recovery after squatting
- FAQ
Why Is the Squat So Important?
The squat isn't just a leg exercise. The American Council on Exercise (ACE) describes it as "the cornerstone of functional training" — and for good reason. It's a full-body movement that activates the quadriceps (primary muscle group, roughly 70% of the movement), hamstrings (stabilization and assistance on the way up), glutes (power out of the bottom, especially in a deep squat), core (support throughout the entire movement), and lower back (maintaining position under load).
Research shows a deep squat (hip crease below the knee) activates the glutes 25% more effectively than a half squat (Caterisano et al., 2002).
Squat Benefits — Scientifically Proven
| Benefit | Research finding | Source |
|---|---|---|
| Muscle strength | 12 weeks of squat training increased leg strength by an average of 32% | Rhea et al. 2003 |
| Bone density | Strength training improves bone density by 1–3% per year | Layne & Nelson 1999 |
| Hormonal response | Squatting acutely raises testosterone levels by 15–20% | Kraemer & Ratamess 2005 |
| Jump height | Squat strength directly correlates with vertical jump performance | Wisløff et al. 2004 |
 Correct squat technique and positioning
Correct squat position: back straight, knees tracking toes, hip crease below the knee.
Correct squat technique and positioning
Correct squat position: back straight, knees tracking toes, hip crease below the knee.
Squat Fundamentals and Mobility
Mobility First — Don't Skip This
Before adding weight to the bar, ensure adequate mobility:
Ankles: Can you squat with heels flat on the floor? Target: 15–20 degrees of dorsiflexion. Test: knee 10 cm from the wall, heel on the floor.
Hips: Can you get comfortably below parallel? Required hip flexion: approximately 120 degrees.
Thoracic spine: Does your upper back stay straight at the bottom? Poor thoracic mobility causes lower back rounding.
💡 Tip: Do a 5-minute mobility routine before every squat session. Focus on ankles and hips.
Equipment
All a beginner needs: Hard, flat-soled shoes (Converse, weightlifting shoes), a safe rack with safety bars, and optionally a belt for heavy sets (above 80% of max).
Flat, hard-soled shoes are best for squatting — not running shoes.
Perfect Technique Step by Step
1. Setting Up Under the Bar
- Place the bar on the upper traps, not on the neck (high bar) or across the rear delts (low bar)
- Take a grip slightly wider than shoulder width — tighter grip = better upper back tension
- Squeeze shoulder blades together and down — this creates a stable "shelf" for the bar
- Step back 2–3 steps, no more (save your energy)
2. Foot Position
- Feet shoulder-width apart or slightly wider
- Toes turned out 15–30 degrees
- Weight centered in the middle of the foot or slightly toward the heels
- Individual stance width depends on hip anatomy
3. The Descent
- Begin by pushing hips back and knees forward simultaneously
- Keep chest up and eyes looking straight ahead or slightly up
- Knees track in line with the toes — let the knees come forward
- Lower until the hip crease is below the knee (hip crease below knee level)
- Keep the entire foot in contact with the floor throughout
4. The Ascent
- Drive your feet into the floor — think "push the floor away"
- Rise along the same path you descended
- Keep chest up — don't let the back round
- Breathe out after the hardest point (sticking point)
- Lock out hips and knees at the top
⚠️ Note: Research shows that knee cave (valgus collapse) is the most common injury risk factor (Hewett et al., 2010). If this happens, reduce the weight.
Most Common Mistakes and How to Fix Them
| Mistake | Problem | Fix |
|---|---|---|
| Knees caving in | Knee injury, ACL risk | Actively push knees out, strengthen glutes |
| Heels rising | Poor ankle mobility | Weightlifting shoes, heel wedge, ankle stretching |
| Lower back rounding (butt wink) | Disc injury risk | Reduce weight, improve hip mobility |
| Stance too narrow | Hip impingement, limited depth | Widen stance, turn toes out more |
| "Good morning" squat | Excessive lower back load | Stronger upper back, better core bracing |
| Descent too fast | Loss of control, injury risk | 2–3 second controlled descent |
Breathing Technique: The Valsalva Maneuver
The Valsalva maneuver is critical for heavy squats:
- Take a deep breath into your belly before the descent (not into the chest)
- Hold the breath and brace your core as if about to take a punch to the stomach
- Descend while holding your breath
- Ascend and exhale only at the top, after lockout
This creates intra-abdominal pressure that protects your spine. Research shows this technique can reduce spinal loading by up to 40% (Cholewicki et al., 1999).
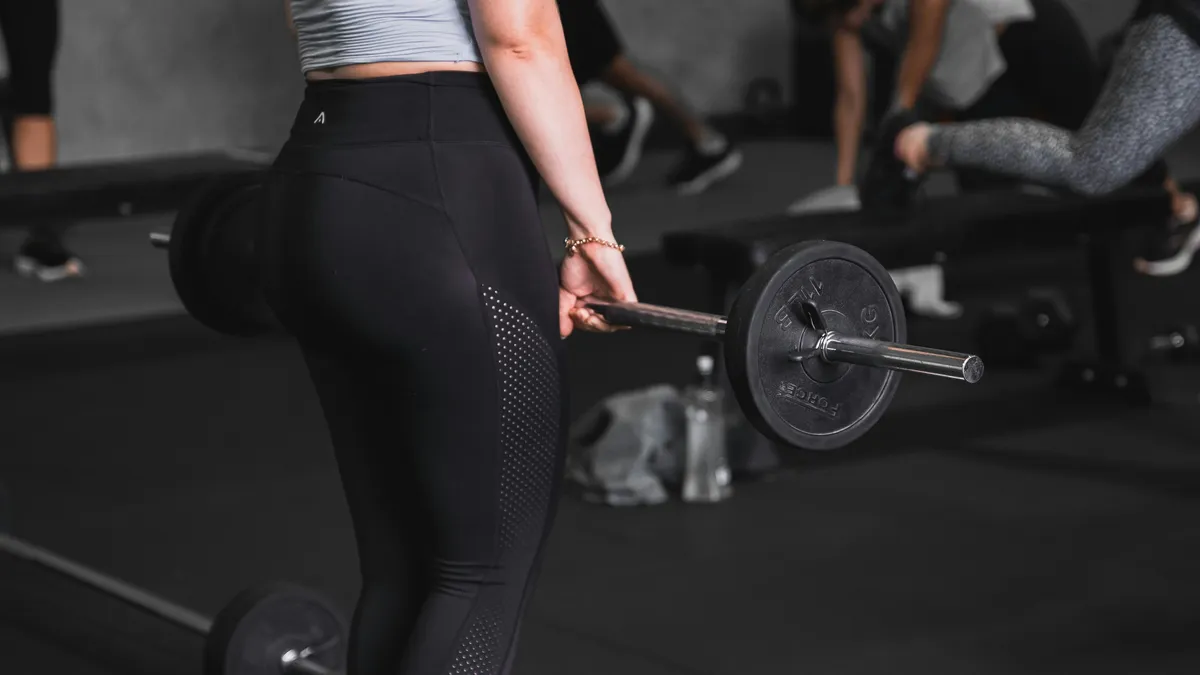
 Leg training and squat workout
Progressive overload is the key to squat development — increase weight gradually week by week.
Leg training and squat workout
Progressive overload is the key to squat development — increase weight gradually week by week.
Training Programs by Level
Beginner (0–6 months)
Goal: Learn technique, build a strength foundation and muscle memory
| Week | Sets × Reps | Weight | Notes |
|---|---|---|---|
| 1–2 | 3×10 | Empty bar (20 kg) | Focus entirely on technique |
| 3–4 | 3×10 | 30–40 kg | Add weight only if technique holds |
| 5–6 | 3×8 | 40–50 kg | Reduce reps, increase weight |
| 7–8 | 4×6–8 | +2.5 kg/week | Begin systematic progression |
Train squats 2× per week — e.g., Monday and Thursday. This is the optimal frequency for beginners.
Read more in the beginner gym workout program.
Intermediate (6–18 months)
Goal: Build strength and muscle mass effectively
Weekly plan (DUP — Daily Undulating Periodization):
- Monday (strength): 5×5 @ 80–85% 1RM
- Thursday (hypertrophy): 3×10 @ 65–70% 1RM
Research shows DUP produces superior strength results compared to traditional linear progression (Schoenfeld et al., 2016).
Advanced (18+ months)
Goal: Maximize strength and break personal records safely
Periodized program (4-week cycle):
| Week | Day 1 (Heavy) | Day 2 (Moderate) | RPE |
|---|---|---|---|
| 1 | 5×5 @ 75% | 3×8 @ 65% | 7–8 |
| 2 | 5×4 @ 80% | 3×8 @ 67% | 8 |
| 3 | 5×3 @ 85% | 3×6 @ 70% | 8–9 |
| 4 (deload) | 3×5 @ 60% | 2×8 @ 50% | 5–6 |
Read more about progressive overload.
Squat Variations
Front Squat
- Bar rests on the collarbones, elbows high
- More upright torso — less stress on the lower back
- EMG research shows 20% more quad activation (Gullett et al., 2009)
- Use when: You want variation or have lower back issues
Goblet Squat
- Dumbbell or kettlebell held at chest height
- Excellent for beginners and mobility work
- Naturally teaches you to stay upright
- Use as: Warm-up or technique drill
Box Squat
- Sit to a box between each rep (1-second pause)
- Teaches correct depth and removes the stretch reflex
- Develops explosive power out of the bottom
- Use when: Building strength from the bottom position
Bulgarian Split Squat
- Single-leg squat with rear foot on a bench
- Research shows nearly identical muscle activation to the back squat (Speirs et al., 2016)
- Corrects imbalances and improves hip mobility
- Use as: Accessory movement after the main squat
Tips for Advanced Lifters
1. Tempo Squats
Slow the descent to 3–4 seconds: improves muscle control and body awareness, increases time under tension, and builds a stronger foundation for heavier loads.
Example: 3-1-1-0 tempo (3 sec down, 1 sec pause, 1 sec up, 0 sec at top)
2. Pause Squats
Hold the bottom position for 2–3 seconds: completely eliminates the stretch reflex contribution, builds strength at the weakest point (sticking point), and improves confidence under heavy loads.
Start at: 60–70% of your normal squat weight.
3. 1.5-Rep Squats
Descend → rise halfway → descend again → stand fully = 1 rep. Doubles the work at the critical zone. Extremely effective for muscle growth. Warning: Burns the quads intensely!
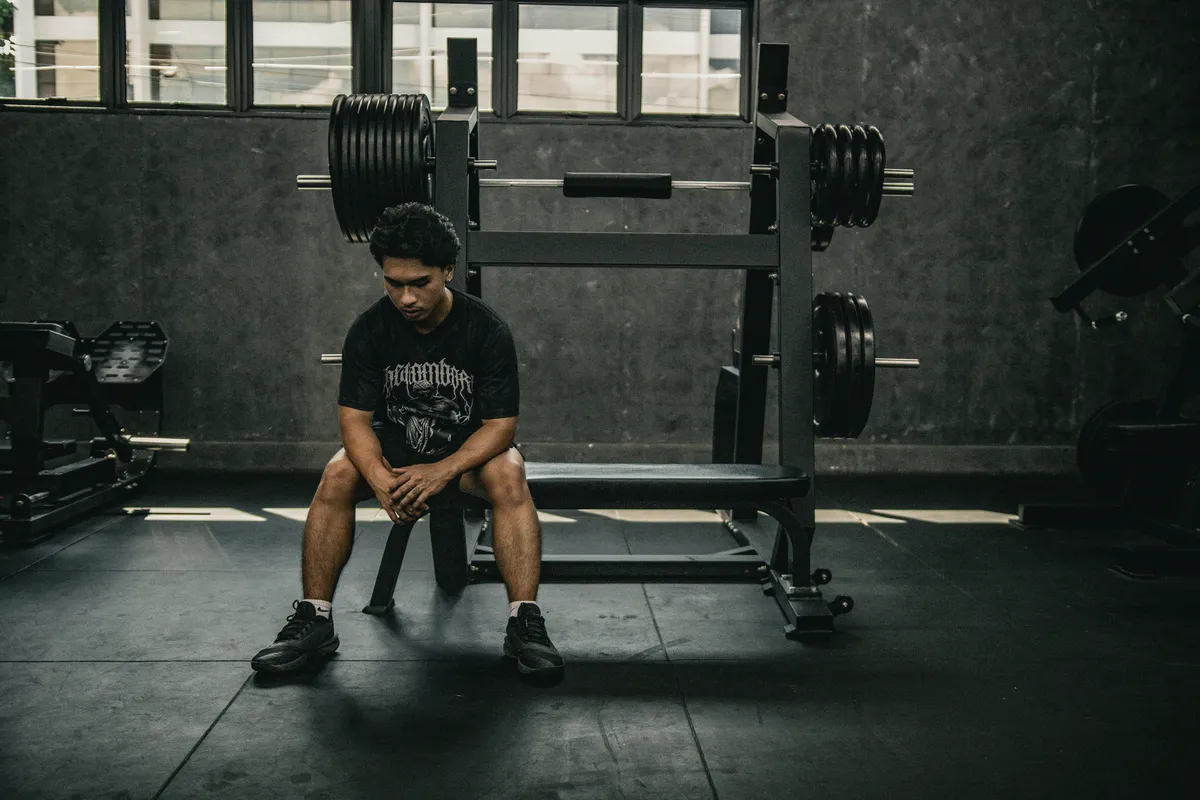
Recovery After Squatting
The squat is a demanding movement. Research shows full recovery from a hard leg session takes 48–72 hours (Hakkinen, 1994).
Nutrition: Protein at 1.6–2.2 g per kilogram of bodyweight per day (Morton et al., 2018), carbohydrates to replenish glycogen stores after training, and at least 2–3 liters of water per day. Read more about protein intake for muscle growth.
Sleep: 7–9 hours per night. Growth hormone peaks during deep sleep.
Active recovery: Easy walking the day after training, foam rolling quads and glutes, light stretching. Read more about recovery from training.
Deload weeks: A lighter week every 4 weeks (50–60% of normal weights). Research confirms deloads improve long-term results.
Summary
The squat is a movement worth learning properly. Keep these key points in mind:
- Technique first — don't add weight until your form is solid
- Progressive overload — increase weight gradually, log every session
- Depth — hip crease below the knee every rep for full benefits
- Recovery — you only develop when you recover properly
The squat isn't just an exercise. It's a benchmark. When your squat improves, you become comprehensively stronger.
FAQ
How deep should I squat?
The hip crease should drop below the knee (below parallel). Research shows that a deep squat fully activates the glutes and hamstrings — partial squats don't provide the same benefits (Caterisano et al., 2002).
Is squatting dangerous for the knees?
No, when technique is correct. A meta-analysis shows deep squatting actually strengthens knee structures (Hartmann et al., 2013). What is dangerous for the knees is partial squats with heavy weight, as this loads the knee joint unevenly.
How often should I squat?
Beginners: 2× per week. Advanced athletes: 2–4× per week depending on the program and intensity. The most important factor is recovering between sessions — research shows a muscle group can be retrained once soreness and fatigue have resolved (Schoenfeld et al., 2016).
Should I use a belt?
A belt isn't mandatory, but research shows it increases intra-abdominal pressure by 20–40% (Lander et al., 1992). Use a belt for heavy sets (above 80% of max). Beginners should first build core strength without one.
How do I improve my squat mobility?
Daily mobility work helps. Research shows even 4 weeks of consistent stretching significantly improves ankle dorsiflexion. Focus on ankles, hips, and thoracic spine — 5–10 minutes per day is enough.
References
-
Kubo, K., et al. (2019). Effects of squat training with different depths on lower limb muscle volumes. European Journal of Applied Physiology, 119(9), 1933-1942. PubMed
-
Rhea, M.R., et al. (2003). A meta-analysis to determine the dose response for strength development. Medicine & Science in Sports & Exercise, 35(3), 456-464. PubMed
-
Kraemer, W.J. & Ratamess, N.A. (2005). Hormonal responses and adaptations to resistance exercise and training. Sports Medicine, 35(4), 339-361. PubMed
-
Wisløff, U., et al. (2004). Strong correlation of maximal squat strength with sprint performance and vertical jump height in elite soccer players. British Journal of Sports Medicine, 38(3), 285-288. PubMed
-
Schoenfeld, B.J., et al. (2016). Effects of different volume-equated resistance training loading strategies on muscular adaptations in well-trained men. Journal of Strength and Conditioning Research, 30(4), 1096-1103. PubMed
-
Morton, R.W., et al. (2018). A systematic review, meta-analysis and meta-regression of the effect of protein supplementation on resistance training-induced gains. British Journal of Sports Medicine, 52(6), 376-384. PubMed
-
Hartmann, H., et al. (2013). Analysis of the load on the knee joint and vertebral column with changes in squatting depth and weight load. Sports Medicine, 43(10), 993-1008. PubMed
-
Caterisano, A., et al. (2002). The effect of back squat depth on the EMG activity of 4 superficial hip and thigh muscles. Journal of Strength and Conditioning Research, 16(3), 428-432.
-
Gullett, J.C., et al. (2009). A biomechanical comparison of back and front squats in healthy trained individuals. Journal of Strength and Conditioning Research, 23(1), 284-292. PubMed
-
Cholewicki, J., et al. (1999). Intra-abdominal pressure mechanism for stabilizing the lumbar spine. Journal of Biomechanics, 32(1), 13-17. PubMed
Want a personalized training program that adapts to your progress? Join Tsemppi — the AI tracks every lift and tells you exactly what to do next. Start your 7-day free trial today, no credit card required.


