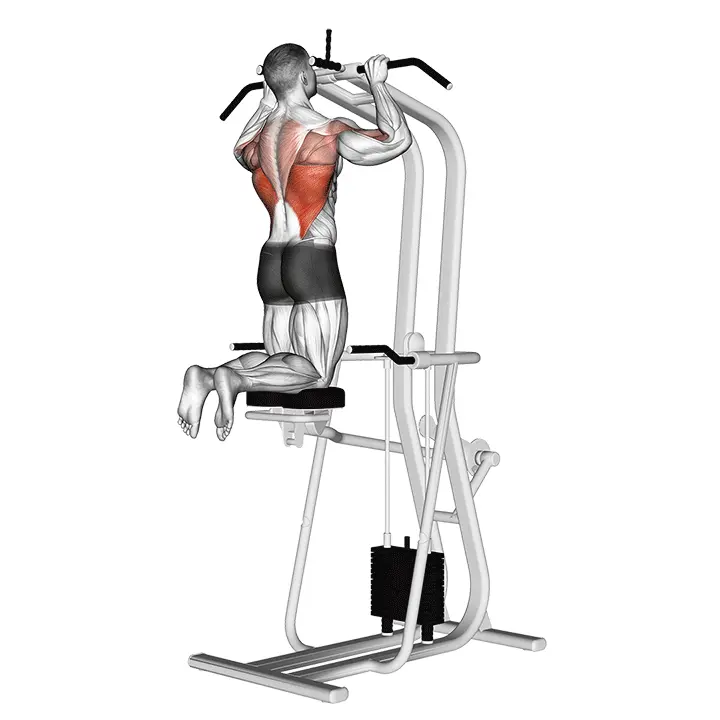
Assisted Pull Up
Assisted pull-up for the back is a pulling movement where a machine or resistance band reduces your body weight. The goal is to develop upper back strength and improve pull-up technique safely.
AI Analysis
Required equipment
Why Assisted Pull Up?
The assisted pull-up is an excellent exercise for both beginners and more experienced trainees who want to develop upper back strength and improve pull-up technique safely. It serves as an effective bridge towards performing pull-ups with your own body weight, providing a controlled way to strengthen the necessary muscles, such as the latissimus dorsi, biceps, and shoulders. This movement allows for practicing a multi-joint exercise like the pull-up without your body weight being a barrier. The basic idea of the movement is to reduce body weight either with an assisted pull-up machine or a resistance band. This allows for more repetitions and helps focus on proper technique without the fear of failure. When you can perform more repetitions with good technique, your muscles receive more effective stimulation and develop faster. You can adjust the amount of assistance according to your strength level: start with greater assistance and gradually reduce it as your strength increases, aiming to get closer to independent pull-ups. This movement is particularly suitable for those who cannot yet perform pull-ups without assistance or for those who want to increase the volume of their training and improve their pull-ups. It is also a great way to recover from injuries or build a foundation for more demanding upper body pulling movements. The assisted pull-up is a versatile foundational exercise that supports comprehensive upper body development and helps achieve goals towards a stronger and more functional body. Remember to focus on controlled movement and active scapula engagement for the best benefits.
Benefits
Effectively develops upper back and arm strength.
Improves pull-up technique safely and in a controlled manner.
Allows for more repetitions, enhancing muscle growth.
Progressively prepares the body for independent pull-ups.
Reduces the risk of injury due to controlled loading.
Activates deep back muscles and improves posture.
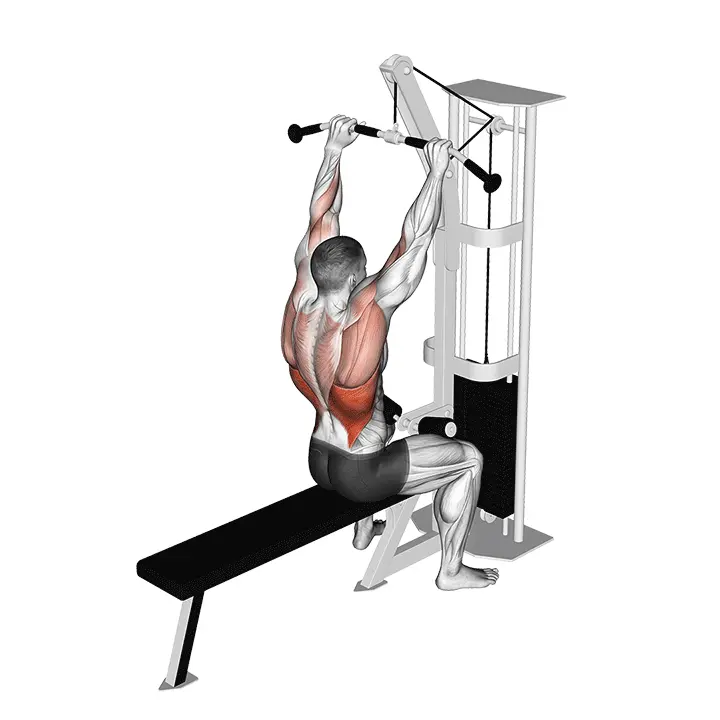
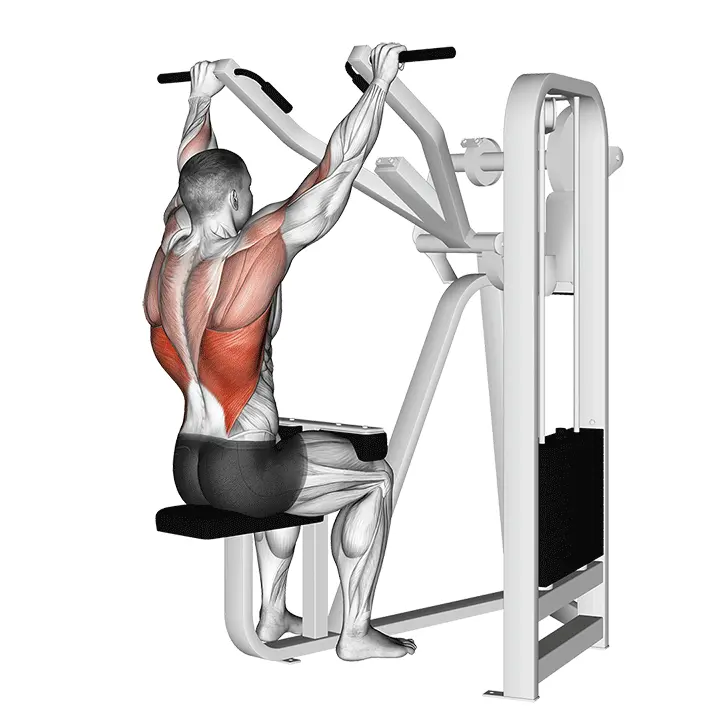
Muscle groups
Primary
- upper-back10
- upper-back10
Secondary
- biceps7
- biceps7
- trapezius6
- trapezius6
Stabilizers
- forearm5
- forearm5
- deltoids4
- deltoids4
- abs4
- lower-back3
How to perform
Setup
- Adjust the resistance of the assisted pull-up machine so that you can perform 6-12 controlled repetitions. More assistance = easier movement.
- Place your knees or feet on the machine's support (or loop the band around the bar and the other end around your feet/toes).
- Grip the bar with a slightly wider than shoulder-width underhand grip (palms facing away). Pull your shoulder blades gently down and back and engage your core.
Execution
- Start the movement by pulling your shoulder blades down and together, then continue by bending your elbows until your chin rises to bar level or slightly above.
- Pause briefly at the top position, maintaining a controlled position and active scapula support.
- Lower yourself slowly to full stretch without letting your shoulders drop, and repeat the movement for the desired number of repetitions.
Coaching cues
- •Start the pull with scapula engagement: pull the shoulder blades down before bending the elbows.
- •Keep your core tight and avoid swinging or kicking (hollow position).
- •Elbows slide towards your body; avoid shrugging your shoulders to your ears.
- •Adjust assistance so that technique remains intact until the last repetition.
- •Exhale during the pull and inhale during the descent.
Common mistakes
❌ Too much assistance
Why it's wrong: If the assistance is too great, the movement feels too easy and the muscles do not receive sufficient stimulation to develop. This slows progress towards independent pull-ups.
✓ Fix: Choose an assistance level that allows you to perform about 6-12 repetitions challenging but with clean technique. Aim to gradually reduce assistance as strength increases.
❌ Too fast and jerky movement
Why it's wrong: A jerky or too fast movement weakens muscle control and reduces effective working time. Additionally, it may unnecessarily strain the joints and increase the risk of injury.
✓ Fix: Focus on a controlled lift and descent. Pull yourself up until your chin is at bar level and lower yourself slowly, almost fully extending your arms.
❌ Shoulders rising to the ears
Why it's wrong: If the shoulders rise to the ears during the pull, it means that the latissimus dorsi is not activating properly and the movement is being performed too much with the upper back and neck muscles. This can cause neck and shoulder pain.
✓ Fix: Engage your scapula before starting the pull by pulling them down and back. Keep your shoulders down and relaxed throughout the movement.
Frequently asked questions
How often should I do assisted pull-ups?
As a beginner, you can include assisted pull-ups in your training program 2-3 times a week, allowing your muscles enough time to recover between workouts. Listen to your body and adjust the frequency according to your strength level and recovery ability. More experienced individuals can do it more often as part of a varied workout.
How do I choose the right amount of assistance?
Choose an assistance level that allows you to perform about 6-12 repetitions with clean technique while feeling the muscles working. If the repetitions are too easy, reduce the assistance. If you cannot perform enough repetitions or your technique breaks down, increase the assistance. The goal is progressive overload.
Can I do assisted pull-ups at home?
Yes, you can do assisted pull-ups at home if you have a sturdy pull-up bar and resistance bands. Attach the band to the bar and step into it or place your knees on it. The amount of assistance can be adjusted by the thickness of the band or by using multiple bands simultaneously.
What is the correct grip for assisted pull-ups?
The most common and recommended grip is a wide underhand grip, where your palms face away from you and your hands are slightly wider than shoulder-width. This effectively activates the latissimus dorsi. You can also try an overhand grip (palms facing you) or a neutral grip (palms facing each other), which target different muscles slightly differently.
Safety tips
- Warm up thoroughly for the upper body and shoulder area before training.
- Ensure that the assisted pull-up machine is set correctly or that the resistance band is securely attached.
- Keep the movement controlled and avoid jerking – especially during the descent.
- Do not hang passively on the bar with shoulders up by your ears; instead, engage your scapula before starting the pull.
- Listen to your body and stop training immediately if you feel pain.
Tags
Train smarter with AI coaching
Tsemppi's AI gives you exact weights and reps for every workout. Progress every single session.
Start your free 7-day trial✨ Limited spots available • No credit card required